Sometimes you may find yourself in a situation where you need to maintain more than one IPTV service at the same time. GSE Smart IPTV is the perfect solution for this. GSE Smart IPTV allows you to manage and maintain multiple IPTV services and can also be used as a media player to play local content from local storage.
Before that, you need an IPTV Subscription, and the best service is from Cinetify.com
IPTV on GSE Smart IPTV
GSE Smart IPTV is a full-fledged IPTV solution that will give you a fantastic viewing experience. It is a cross-platform player which is natively supported by Android, IOS and Mac OSX. So you can run it on all Android and Apple devices.
Read on to learn how to setup IPTV on GSE Smart IPTV.
What you will need for this tutorial
For this tutorial you will need the following:
- An Android device : This can be an Android TV box, an Android tablet, a mobile phone, or even an Android emulator on a PC. For this tutorial, we will be using the Nvidia Shield. You can also use an Apple device.
- IPTV Service Provider
- An Internet connection
Features
GSE Smart IPTV has a comprehensive list of features which clearly explains why it has become so popular.
- XTREAM-CODE support
- Parental control features to steer kids away from content they shouldn’t see or access.
- Reconnecting the live stream in the event of a transmission interruption or failure.
- Ability to watch local files from USB drive, SD card, etc.
- Multiple themes for enhanced visual experience
Step by step instructions on how to setup IPTV on GSE Smart IPTV
1. Installing GSE Smart IPTV
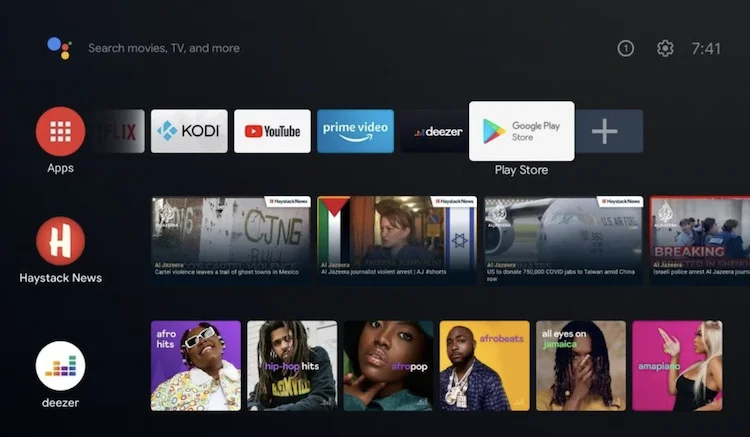
Step 1: From your home screen, go to Play Store.
Step 2: Search for “GSE Smart IPTV”.
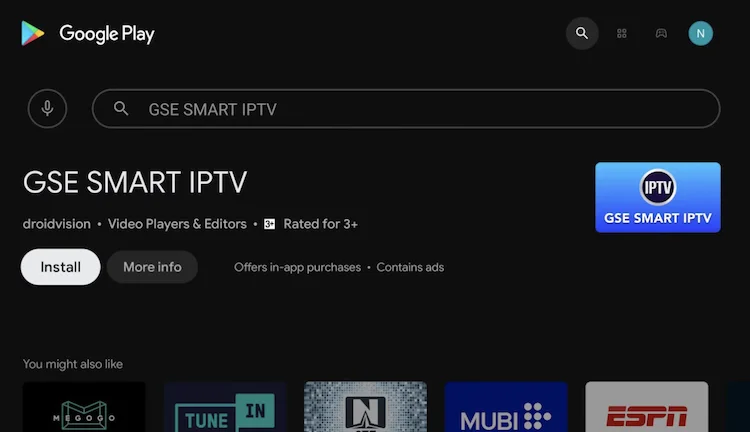
Step 3: Click the “Install” button.
Step 4: Once the installation is complete, click “open” to launch the application.
Step 5: Click “OK” button to allow GSE Smart IPTV to access your SD card.
One of the features of GSE Smart IPTV that we discussed earlier is the ability to access local content. For this to be possible, this permission must be granted.
Step 6: Allow the app to access photos and videos from your local storage.
Step 7: Accept the EULA (End User License Agreement).
Step 8: You will now be taken to the home screen.
2. Configuring IPTV on GSE Smart IPTV
Step 1: Click on the “Remote Playlists” menu item at the top left of your screen.
Step 2: The screen below will appear. Click the “Plus” sign at the top of the screen. You can see that GSE provides sample M3U playlists as part of the application.
Step 3: You will have the option to add an M3U or JSON URL. For this tutorial, we will use the M3U option.
Step 4: Enter the M3U URL provided by your IPTV service provider, give it a name that you can easily associate with and click Next.
Step 5: You should now see the IPTV service added in the list of available IPTV services.
Step 6: Click on the IPTV we just added. You should see the playlist being downloaded like in the screen below.
Step 7: Once the playlist is downloaded, you will see the number of channels the service has. In our case, we have 306 channels, as indicated by the red number.
Step 8: Click on the IPTV icon to view your channels.
Step 9: Click on one of the channels to start watching it:
Conclusion
GSE Smart IPTV is a versatile and powerful solution for managing multiple IPTV services without having to juggle different devices. It allows you to manage all your IPTV subscriptions in one place, while offering features such as managing a variety of different channels. As a parent, I also find the ability to set parental controls and hide entire groups of channels very useful. Read our guide how to configure IPTV on VLC .
