The IPTV Dreamlink T1 and T2 are devices that grant access to IPTV channels. They include a user interface based on the Stalker Middleware, an interface that is intended to convert these online channels into a menu from which you can simply select which channel you require to watch.
Basically, these merchandises make it simpler for you to see the numerous channels that are on offer and pick whichever one catches your imagination. The user interface also includes a web browser, video player, and a mixture of other apps.
In order to add channels to your Dreamlink device, follow the below steps:
Before that, you need an IPTV Subscription, and the best service is from Cinetify.com to use your iptv on the dreamlink
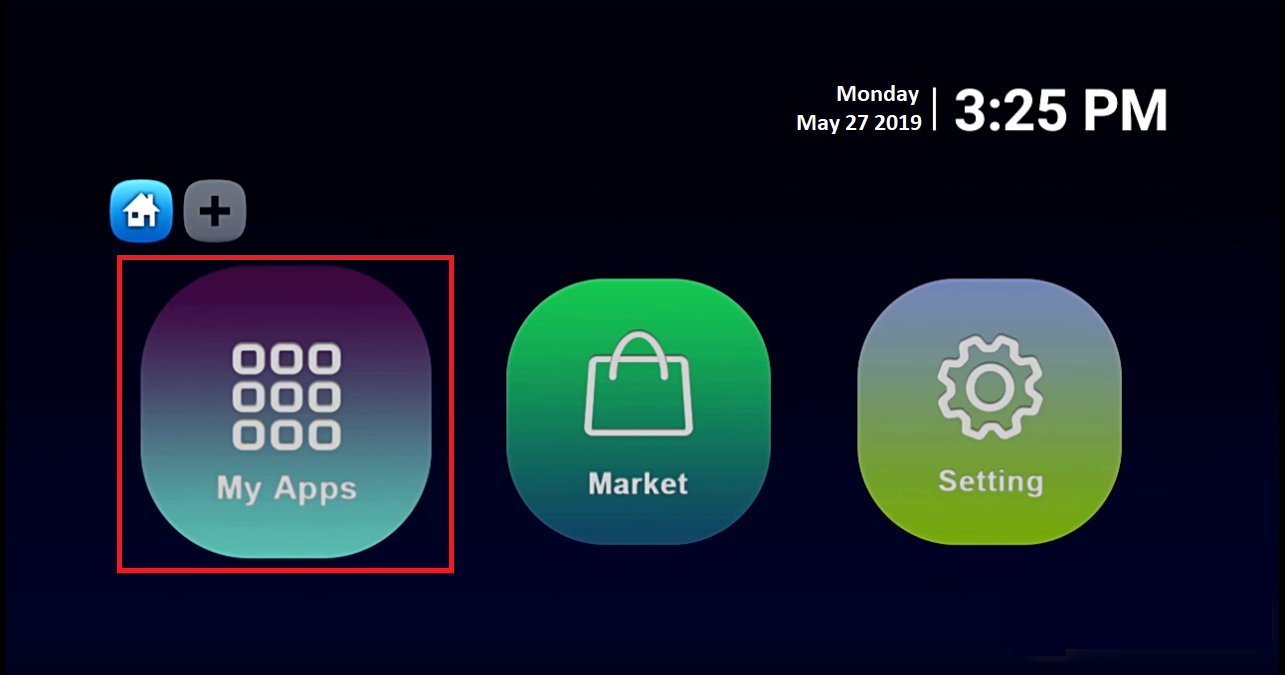
STEP 1:
From the main page, go to “My Apps“.
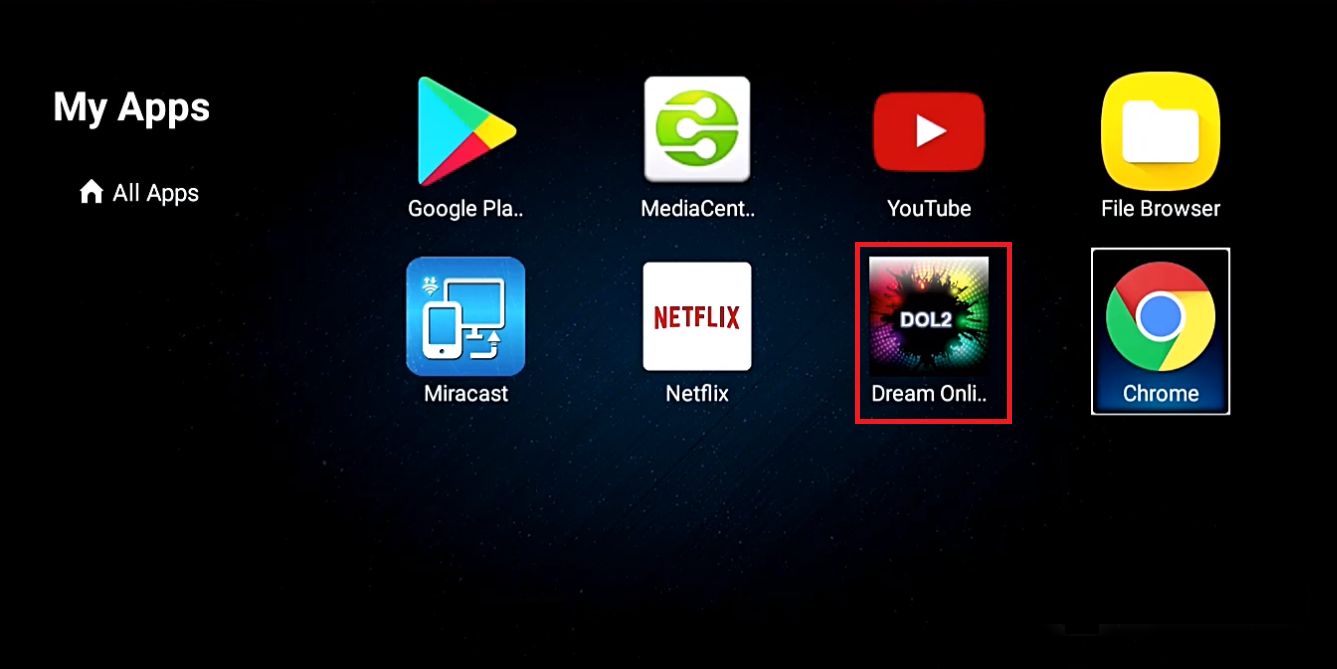
STEP 2:
Select DreamOnline (DOL 2).
Note, If the DreamOnline (DOL2) app is not in the My apps folder go to the Market folder, find DreamOnline (DOL2) and install it. After that, it will appear in the My apps folder/
STEP 3:
Now select “Edit Service” and then click on “Click Edit“.
Important: Be sure you register on (Server Operator Homepage) with your right MAC Address (if necessary).
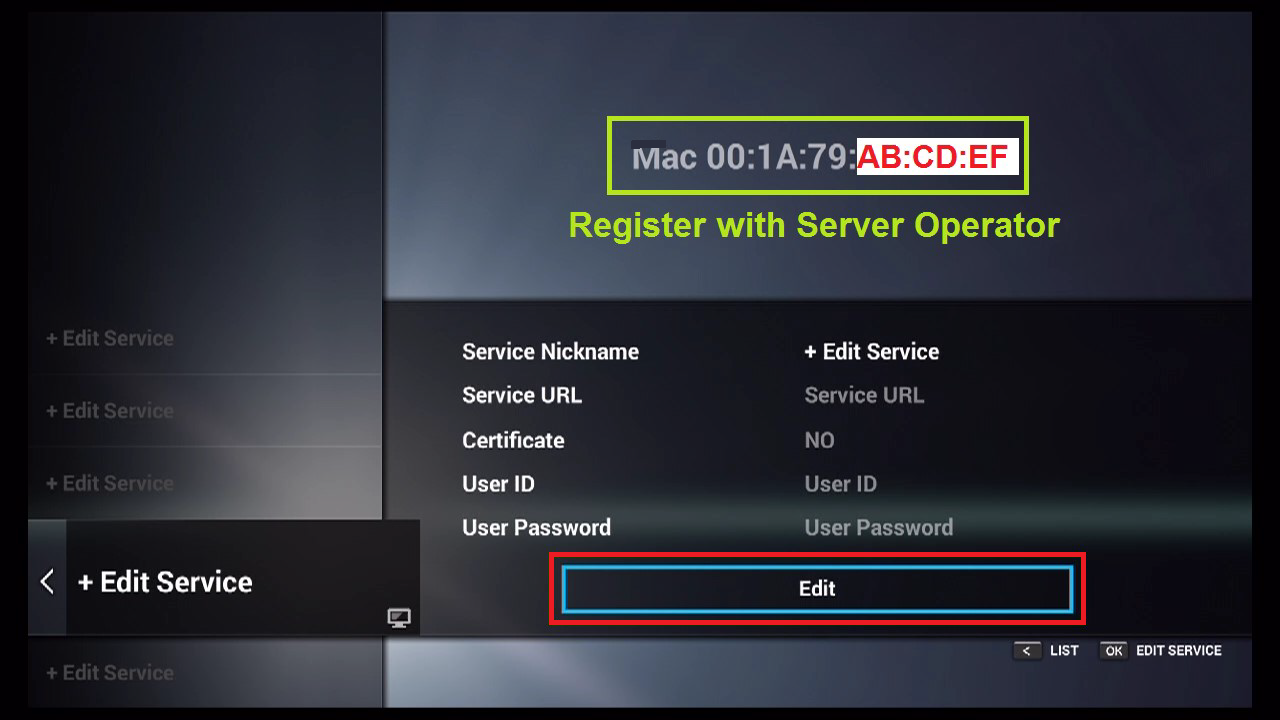
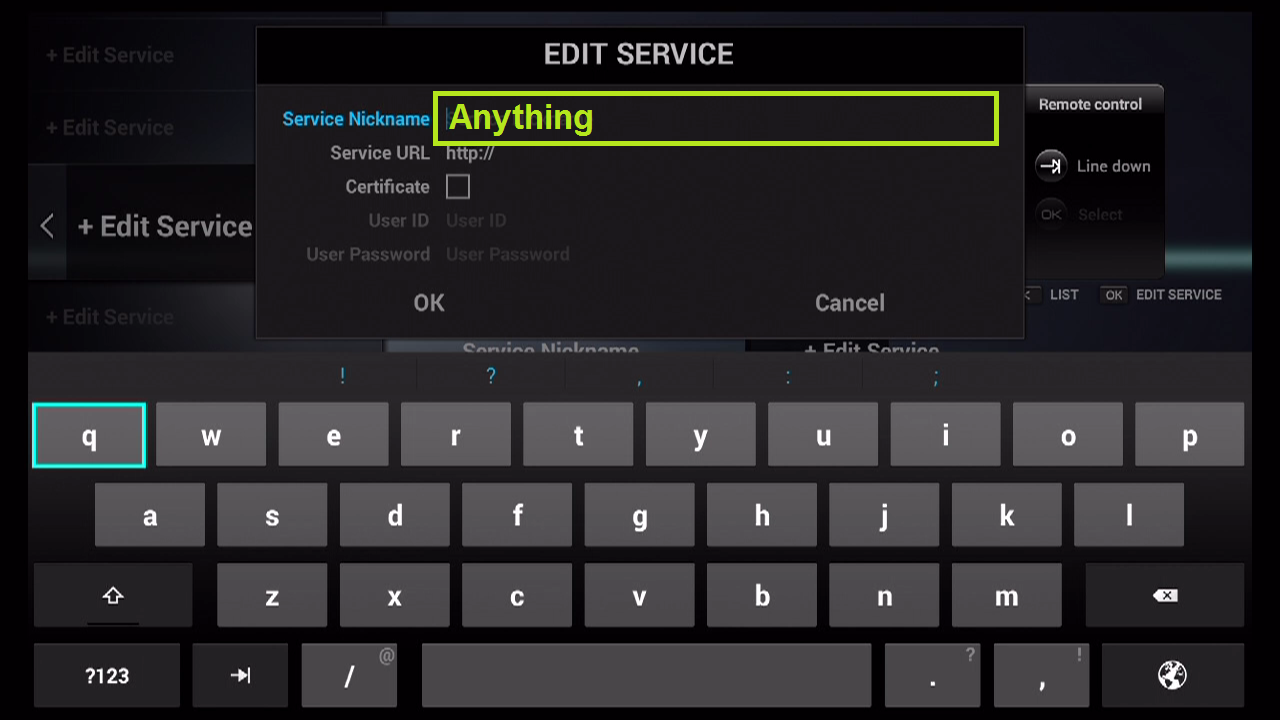
STEP 4:
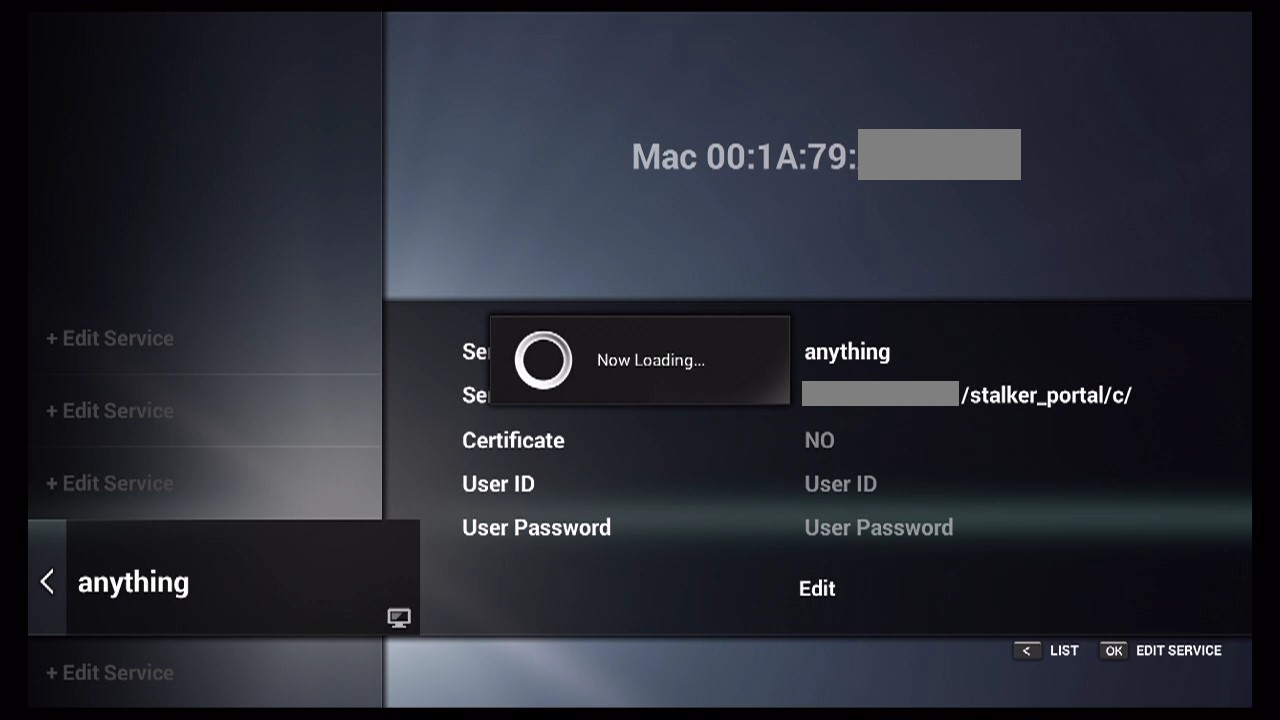
Enter Service Nickname (Any name).
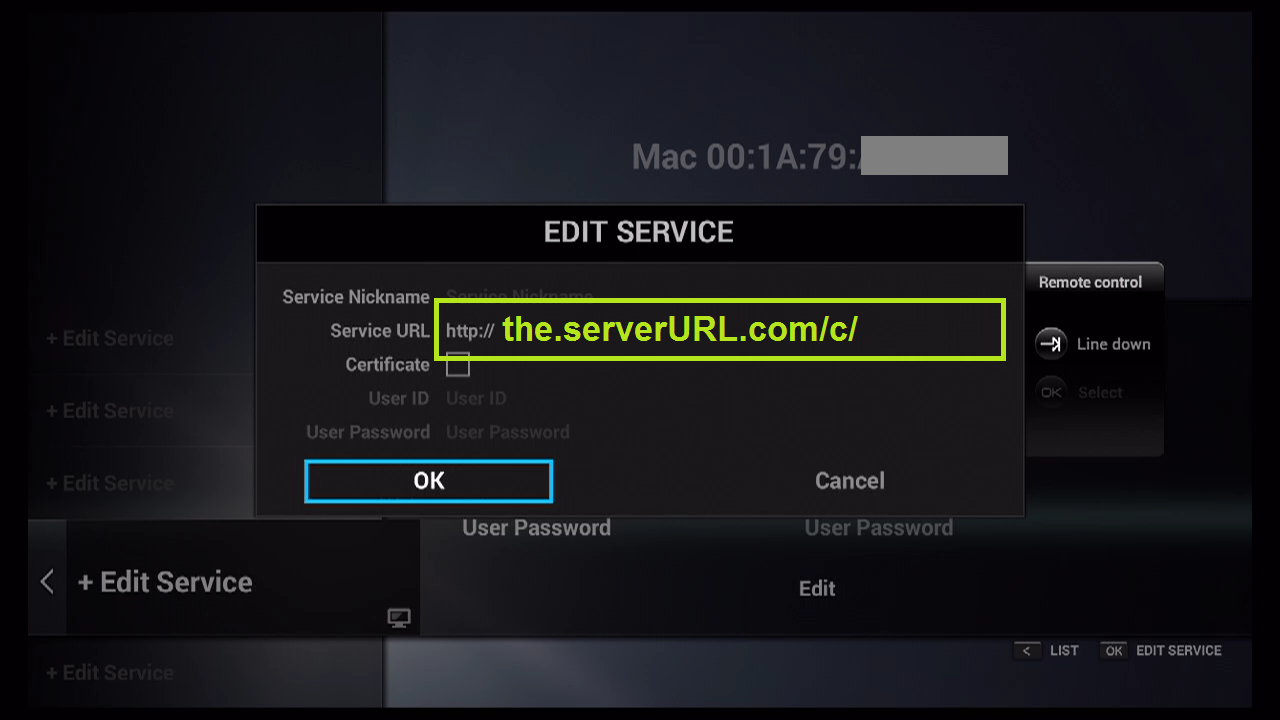
STEP 5:
Enter the IPTV Server URL (Portal URL) you get from your IPTV service provider.
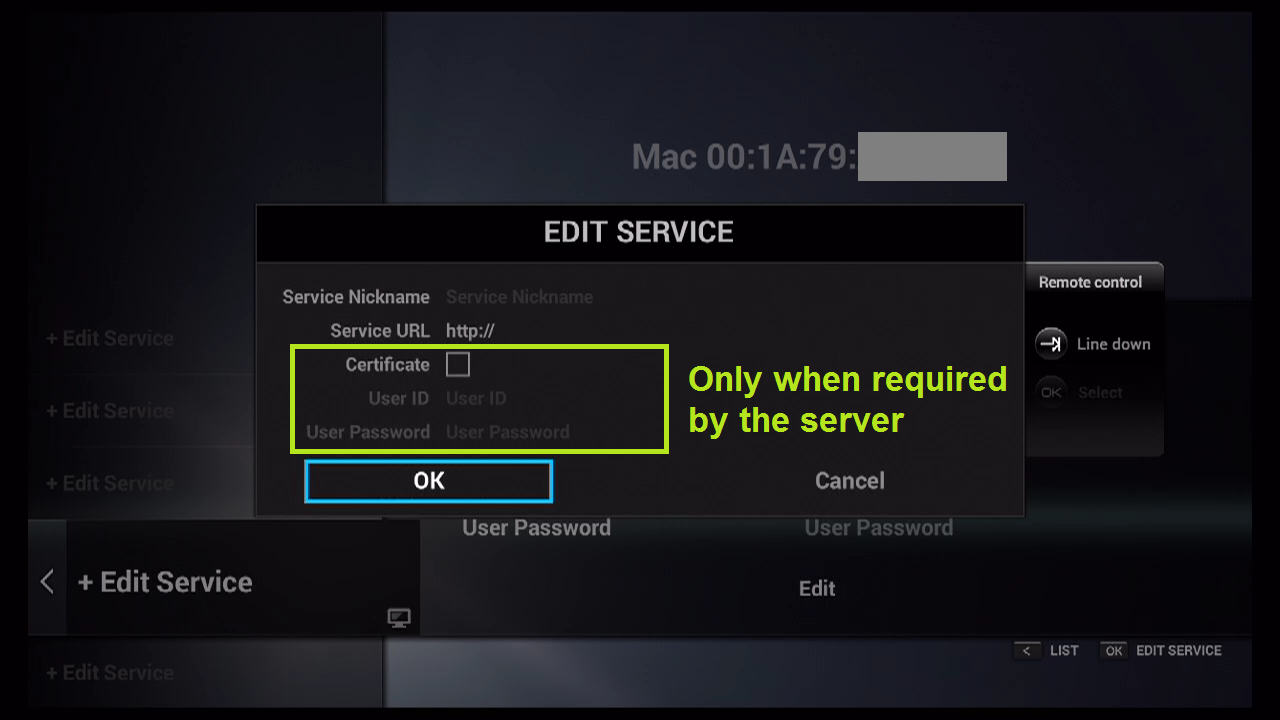
STEP 6:
It is NOT necessary to enter the Username and Password.
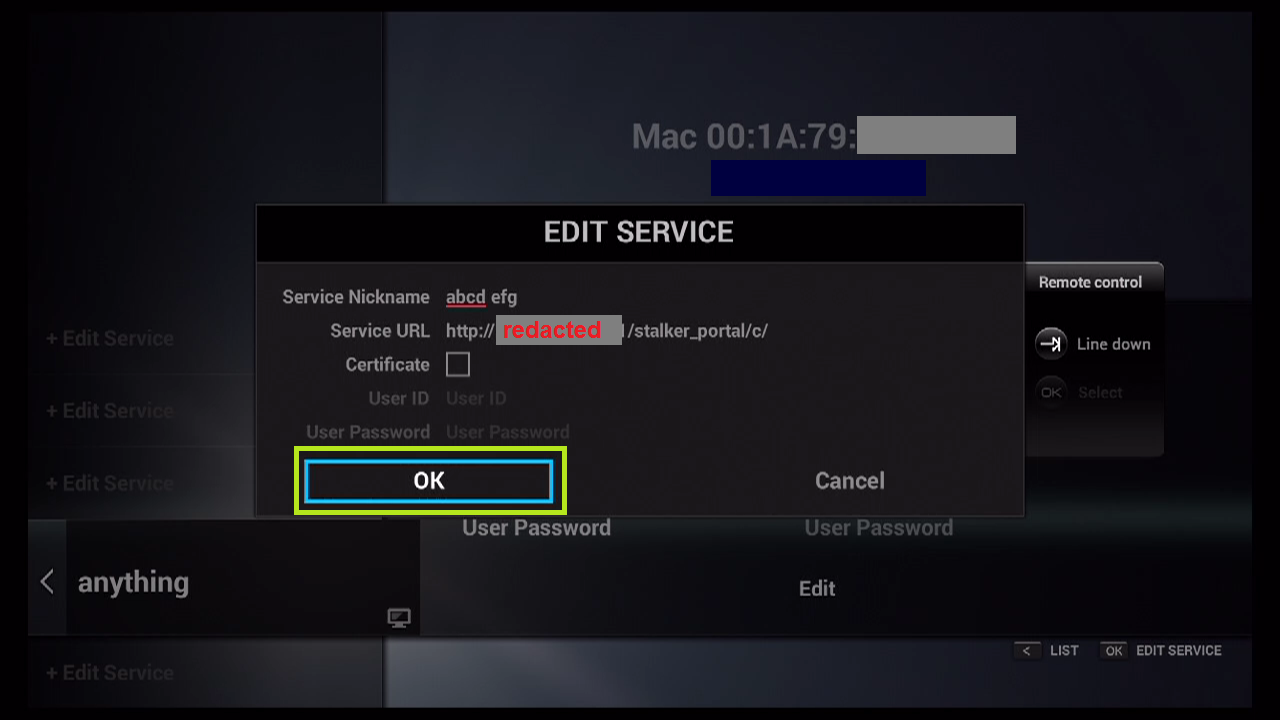
STEP 7:
Click “OK“.
STEP 8:
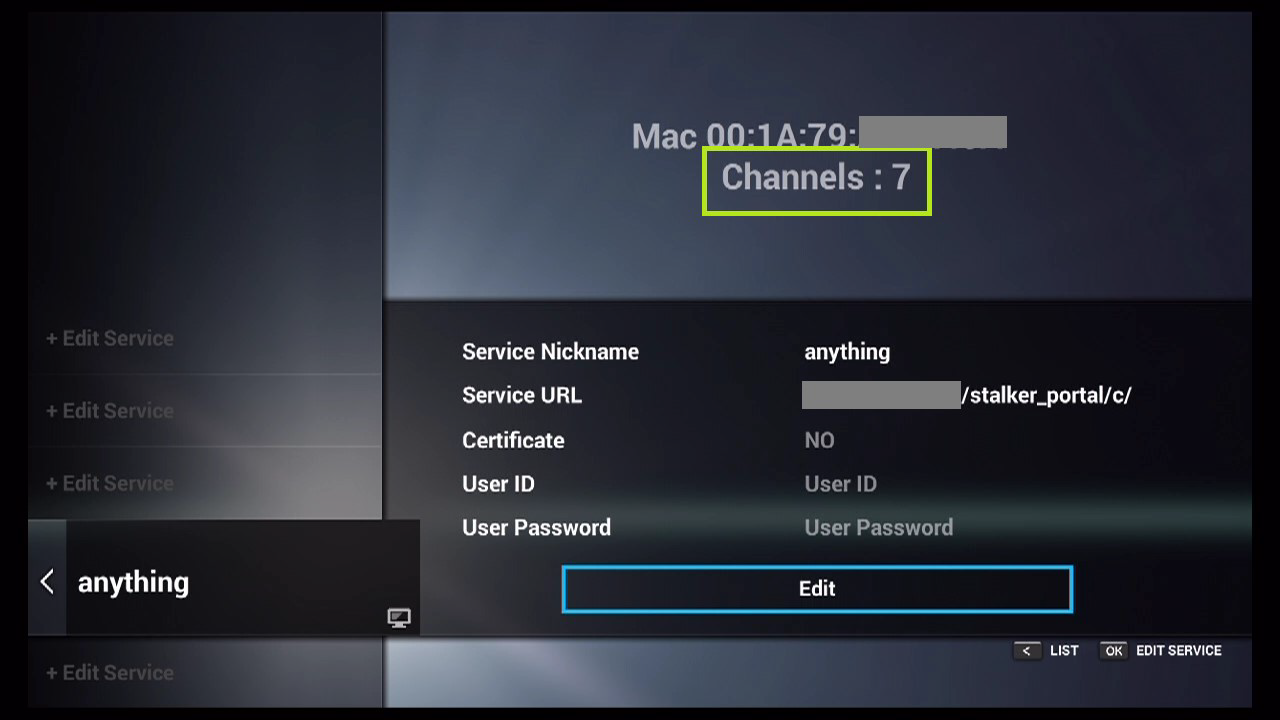
Connecting to IPTV Server (with your registered data) in progress.
STEP 9:
Successful Connection! You receive all channels associated with your account.